Your default SSID probably says "NETGEAR-2G-3F4A" or "TP-Link_4B88". That's fine technically — but it broadcasts your router brand to every neighbor within range. Here's how to change it in 3 minutes.
Log in to your router admin panel (usually at 192.168.1.1 or 192.168.0.1). Go to Wireless or Wi-Fi Settings. Find the SSID or Network Name field. Type your new name. Click Save. All devices will disconnect — reconnect them using the new network name.
SSID stands for Service Set Identifier. In plain language: it's the name of your Wi-Fi network.
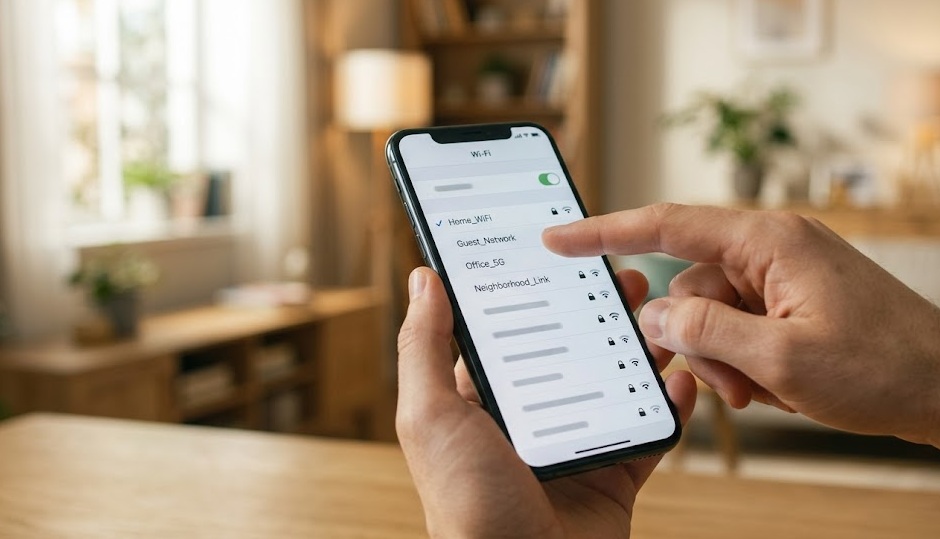
When your phone scans for Wi-Fi, it shows a list of names — "HomeNetwork", "CoffeeShop_Guest", "DIRECT-TV". Each of those is an SSID. Your router broadcasts its SSID constantly so nearby devices can find and connect to it.
Your router ships with a default SSID — usually your brand name plus a string of random characters. There's no technical reason to change it. But there are two good practical reasons:
An SSID can be up to 32 characters long. It's case-sensitive. Avoid special characters like < > " \ — some routers reject them. Spaces are technically allowed but can cause connection issues on older devices.
This process works on every router brand. The exact menu labels vary slightly — see the brand-specific section below if you get stuck.
Use a device already connected to the Wi-Fi you want to rename. A wired Ethernet connection is more reliable — the change won't drop your connection mid-configuration.
Type your router's IP address into a browser's address bar (not the search bar). Try 192.168.1.1 or 192.168.0.1. On Windows, run ipconfig in Command Prompt and look for Default Gateway if those don't work.
Enter the router admin username and password — printed on the label on the back or bottom of your router. This is not the same as your Wi-Fi password.
Look for a tab or menu item labeled Wireless, Wi-Fi, or WLAN. Inside, find the SSID or Network Name field.
Clear the existing SSID and type your new name. If your router has both 2.4GHz and 5GHz bands, you'll see two separate SSID fields — update both or set them to the same name for seamless band steering.
Click Save or Apply. The router broadcasts the new SSID within 30–60 seconds. Your current Wi-Fi session will drop — this is expected. The password hasn't changed.
Go to Basic → Wireless. Change the Name (SSID) field for 2.4GHz and 5GHz separately. Click Apply.
Go to Basic → Wireless or Advanced → Wireless → Wireless Settings. Change Network Name (SSID). Save.
Go to Wireless → General. Change SSID field. Scroll down and click Apply. Do this for both bands if needed.
Go to Wi-Fi Settings from the main menu. Change the Wi-Fi Name field. Click Save Changes.
Go to Settings → Wireless. Change the Wi-Fi Name (SSID). Click Save.
Open the Google Home app → Wi-Fi → Settings. Tap Network name. Type the new name and save.
Your SSID is visible to every device within ~150 feet of your home. Choose the name accordingly.
Pick something memorable but neutral. A made-up word, a favorite place, a random combination. The goal is recognizable to you, meaningless to everyone else.
If your router supports dual-band (2.4GHz + 5GHz), use the same SSID for both. The router automatically steers each device to the best band. This is called Smart Connect or Band Steering. It simplifies life — one name to remember, automatic optimization.
Changing your SSID disconnects every device on your network. The password is still the same — only the network name changed. Here's what to do.
| Device Type | How to Reconnect |
|---|---|
| Phone / Tablet | Settings → Wi-Fi → select new network name → enter password |
| Windows laptop | Click Wi-Fi icon in taskbar → select new network → Connect |
| Mac | Wi-Fi menu bar icon → select new network name → enter password |
| Smart TV | Settings → Network → Wi-Fi → select new name → enter password |
| Smart home devices | Use the device's companion app to reconnect — most have a re-setup or change network option |
| Printers | Run the wireless setup wizard from the printer menu or app |
Devices like smart plugs, bulbs, thermostats, and cameras often need to be reconnected through their companion apps. Budget extra time if you have more than 5–6 smart home devices. Do the change when you have 30 minutes to work through the reconnection list.
Changing your password next? Choosing between 2.4GHz and 5GHz? We have a guide for that.
Browse All Guides →