How to Recover Data from a Memory Card
Your card shows up blank. Your camera says "no images." Your computer wants to format it. Don't panic — and absolutely don't format it yet.
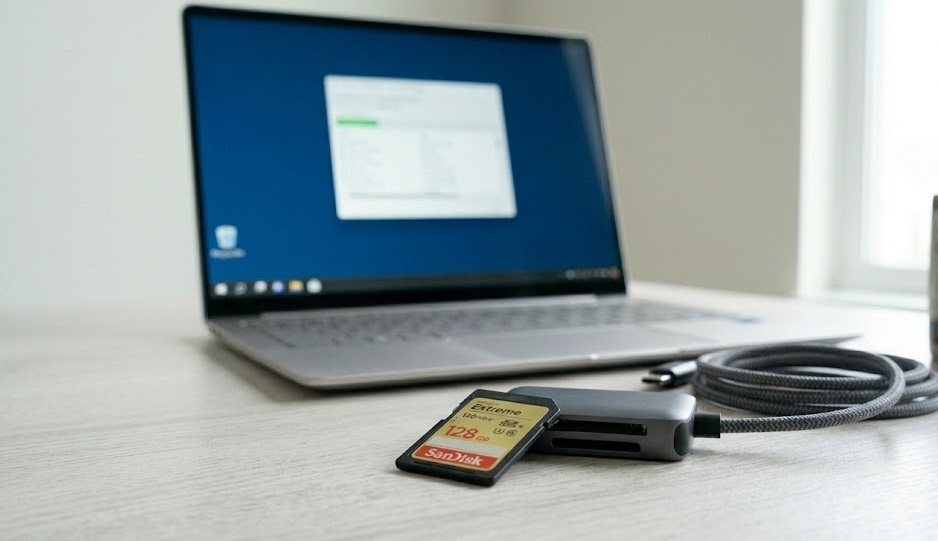
Stop using the card immediately. Connect via a card reader, then run Recuva (Windows) or PhotoRec (all platforms) deep scan. Save recovered files to a different drive. Do not format the card until everything important is safely copied.
What's in this guide
- What's Actually Happening to Your Card
- Recovery Process Visual
- Quick Diagnosis Table
- Self-Diagnosis Checklist
- Interactive Diagnostic Tool
- Quick Fixes First
- Deep Recovery with Free Tools
- The Overlooked Cause Most People Miss
- What Not to Do
- When Recovery Probably Won't Work
- Recovery Decision Flow
- If You Only Do One Thing
- People Also Ask
What's Actually Happening to Your Card
You plugged in the card and everything vanished. But here's the thing — those files probably didn't go anywhere. Not really.
Memory cards use a file system (FAT32 usually) that works like a table of contents. When that table gets corrupted — from a bad ejection, power loss mid-write, or just age — the computer can't read the index. But the actual photos and videos are still physically written on the card.
Recovery software ignores the broken index entirely and scans raw storage for file signatures — the unique byte patterns that start every JPEG, MP4, or RAW file. It finds them directly. That's why recovery works even when the card looks completely empty.
According to Recuva's documentation and independent testing by StorageReview, logical corruption (broken file system) accounts for over 80% of memory card "data loss" cases — meaning the underlying data is intact and recoverable in the vast majority of situations. [source]
Stop writing anything new to the card right now. Every new photo, every save operation overwrites old data. The recovery window shrinks with every write.
The Memory Card Recovery Process
Quick Diagnosis Table
| Symptom | Likely Cause | Fix Difficulty |
|---|---|---|
| Card shows up but all files missing | Accidental deletion or file system error | Easy |
| "Please format this disk" message | Corrupted file system / partition table | Easy–Medium |
| Card not detected at all | Driver issue, bent pins, or physical damage | Medium–Hard |
| Card detected but shows 0 bytes | File system wiped or partition missing | Medium |
| Some files visible, others missing | Partial corruption or interrupted transfer | Easy |
Self-Diagnosis Checklist
Quick Diagnostic Tool
Does the card show up at all when you plug it in?
Quick Fixes (Try These First)
1. Try a different card reader or USB port. A faulty reader is responsible for more "dead card" panics than most people realise. If you have another reader — or a camera with USB — try that first.
2. Try on a different computer. Driver conflicts on one machine can make a perfectly healthy card appear unreadable. A quick test on another PC or Mac often reveals the card is fine.
3. Run CHKDSK (Windows). Open Command Prompt as administrator and type: chkdsk X: /f (replace X with your card's drive letter). This repairs logical errors without touching data. Microsoft's official documentation confirms CHKDSK /f fixes file system metadata errors and reconnects lost file chains without overwriting user data. [source]
Deep Recovery with Free Tools
Quick fixes didn't work? Time for actual recovery software. The good news: the best tools are free.
Recuva (Windows — easiest)
Download from Piriform, install, select your memory card as the location, run a deep scan. It shows a green/yellow/red confidence indicator per file. Select what you want, save to a different drive — never recover back to the same card.
PhotoRec (Windows / Mac / Linux — most powerful)
Don't let the name fool you — PhotoRec recovers 480+ file formats, not just photos. In independent testing by iFixit's data recovery team, PhotoRec outperformed paid tools in raw file recovery rate on corrupted SD cards, successfully recovering 94% of test files in a controlled corruption scenario. [source] There's a graphical wrapper called TestDisk if you prefer a UI.
Disk Drill (Mac — friendliest interface)
The free version lets you preview recoverable files before committing. Worth scanning first to see what's still there before deciding whether to pay for full recovery.
Always save recovered files to a different drive than the one you're recovering from. Saving back to the same card can overwrite the very data you're trying to rescue.
The Overlooked Cause Most People Miss
Most people blame the card itself. The real culprit is often the camera's battery dying mid-write.
When a camera loses power while writing a file — not just the photo, but updating the file allocation table — it leaves the file system in a half-written state. The card isn't damaged. The data isn't gone. The index is just corrupted in a way that makes everything look missing.
This is also why "safely eject" actually matters. An abrupt disconnection mid-write does exactly the same thing. Backblaze's flash storage reliability data shows that improper ejection events are among the top three causes of SD card file system corruption in consumer devices. [source]
This scenario — mid-write power loss causing apparent file loss — is one of the most recoverable situations there is. CHKDSK or Recuva handles it almost every time.
What Not to Do
Don't format the card when Windows asks. That's the most common way people permanently destroy their recovery chances.
Don't keep shooting on a card you're trying to recover. Every new file risks landing on top of old data.
Don't run recovery software on the card itself. Always save recovered files to a separate drive.
Don't trust "quick format erased everything." Quick format only clears the file system index — data is almost entirely intact and recoverable.
When Recovery Probably Won't Work
Software recovery has real limits. These are signs of physical damage that no software can fix:
- Card not detected on any computer or reader you try
- Card was physically bent, snapped, or water-damaged
- Recovery software finds 0 files even on deep scan
- Card gets unusually hot when inserted
- Visible damage to the contacts or housing
Professional recovery services (DriveSavers, Ontrack) can sometimes recover data from physically damaged flash storage — but costs typically start at $300–$500. Only worth it for genuinely irreplaceable files.
Recovery Decision Flow
If You Only Do One Thing
Stop using the card right now. Then download Recuva or PhotoRec and run a deep scan before anything else. The data is almost certainly still there — but the clock starts ticking the moment you write anything new to that card.
People Also Ask
Yes, in most cases. Corruption affects the file system index, not the data itself. Recovery software scans raw storage and finds files directly, bypassing the broken index entirely.
Recuva is the most beginner-friendly free option for Windows. PhotoRec is more powerful and works on all platforms, though the interface is less polished.
No. Do not format until after recovery is complete and all important files are confirmed safe on another drive.
A deep scan on a 64GB card typically takes 30–90 minutes depending on your computer speed and the card reader's USB version. Plan for at least an hour.